Saturday, March 23, 2013

Music Musts ~ Serena Ryder


I am in love with this song.
Not only is it amazeballs, but this girl is Canadian!!!
Whoohoo!

She has lots of great songs, but check out her newest "Stompa" above :)

Let me know what you think...

Cheers,
Messy

Friday, March 22, 2013

DIY ~ Vintage Button Necklace

I have been seeing these all over Pinterest lately and have been dying to try it.
I bought a huge bag of vintage buttons last year at the local church garage sale.
 
YOU NEED:
vintage buttons
glue gun and extra glue sticks
small piece of felt
small piece of cardboard
necklace chain
clasp
 
First pick and lay out your buttons in your desired design.
 

Start gluing your buttons onto your felt piece.
 
 
Trim your felt around your buttons so you can't ee it from the front.
 
 
Measure out the length of chain you would like and add a clasp to the end.


 Trace your felt onto some cardboard and cut it out a bit smallr than your button cluster.


Glue your chain down the center of your button cluster.
Then glue your cardboard backing on.


I love the way mine turned out!
 
It's for sale in my shop now! :)
 
Cheers,
Messy

Thursday, March 21, 2013

Disney Vacation Part 1 ~ The Drive


I am so thankful and appreciative of my dear friends Cindy and Dennis!
They were kind enough to give me a ride down to Florida with them!!
I got to spend a whole 24 hours bugging Tyler and Sarrah!
Waaaahhahahahahaha!
 
 
No...I was a good kid.

We stopped in Daytona to take a look at bike week while we were there.


We also went to the flea market and got some fresh fruit and popcorn!


{picture courtesy of  Cindy} Denis not pictures :(

Thank you to the McCarthy's for always being there for me, helping me out in any way they can and for the free ride to Florida.

You rock!

Cheers,
Messy


Wednesday, March 20, 2013

DIY ~ Mitten Heart Upgrade


I love this little upgrade!!!
 
YOU WILL NEED:
a pair of gloves or mittens
felt
scissors
embroidery thread
needle
 

First cut out a heart from your felt tat is about the size of your palm.
 
 
Now cut your heart in half.
 

Sew one half on each glove with embroidery thread.
I chose to use a different color so you can see the stitching.
 
Make sure your thumbs are pointing out on both the gloves and your sewing the half heart onto the palm of the glove.


Now when you out them on your palms have a cute little heart.
These are the mittens I made as a DIY here!


Cheers,
Messy


Tuesday, March 19, 2013

Product Review ~ Arbonne's Awake Body Scrub

My friend Sarah has just started selling Arbonne and I went to a party to check out the stuff.
I hadn't heard much about it (mostly cause I'm not really girly like that).
I bought three items and thought I would do a product review for you.
 
First up is the Awaken Body Scrub.
 
 
I mostly use it on my hands, but have also tried my heels and elbows.
Elbows hurt a little too much for my liking, but I am addicted to the heels and hands!!!!
 
 
All you do is take a small amount out of the tub and rub it in your hands.
You can start with wet hands if you want, but I think it works better if they're dry.
I also sorta drain a bit of the oil out of the scrub or else your hands are really slippery after!
 
It has a lovely lemon scent so it isn't too froo froo too!
 
 
If you would like to purchase any products you can check them out here.
You have to be a preferred client to order online, but you can sign up through Sarah.
 :)
 
Message me if you would like her contacts!
 
Cheers,
Messy


Monday, March 18, 2013

DIY ~ Coolest Cape Ever!

***this is a repost from May 2012***
 
 
I quite possibly am the coolest Aunt ever.
I said it.
I made the coolest cape ever for my nephew Logan.
It just so happens that his initials spell L.A.W.

WHAT YOU NEED:
- Large piece of red fabric (mine is recycled from an old ugly skirt.)
- scissors
- pins
- iron
- felt
- sewing machine
Lay your fabric out and cut the size you want (I did two feet for Logan and he is a small two year old). Also cut a long strip approximately 25 - 30 inches, that is 3 1/2 inches wide for the collar strap/tie.
Fold fabric in half and cut a triangle shape with a rounded bottom (I was making two capes at once, you only need one of these shapes)
 
Iron up a hem on all the edges except where the neck tie will go.
Iron you long tie piece in half and sew straight down without closing the ends.
Flip the tube inside out and iron seam flat.
Sew the neck tie on by putting both pieces raw edges together and stitching. I went over mine with a zig zag stitch so it would be extra secure and last for years!
 
Glad he loves it!
 
Cheers,
Messy


Sunday, March 17, 2013

My Faves ~ Color It Mia


I adore her.
I really do.
She is the real me.
I love her realism, vulnerability and all out kookiness :)
 
She has some really unique and interesting regular posts she writes.
One of my favorites she sometimes does is "Cheap" Thursday's!
She posts all the things she bought for a great deal!
 
 
Head on over and check out her blog!
 
Cheers,
Messy

**all photos curtosy of Color It Mia Blog***

Saturday, March 16, 2013

DIY ~ Kitty Ears!

***this is a repost from October 2012***
 
Halloween is a comin'!
I got to dress up on Saturday!
It was the dance studio's Chili Dinner & Show Fundraiser.
I went as a kitty and needed some ears.
What you need:
- cardboard
- black felt
-pink felt
- scissors
- glue gun
- headband
 
 
First cut out four matching triangles from the cardboard smaller than the size you want your ears to be.
 
Next, cut out 4 triangles from the black felt larger that your cardboard ones by 1/4 of in inch all around. Leave extra at the bottoms of the triangle.
 
Using your glue gun, glue a cardboard triangle inside two felt triangles NOT gluing along the bottom.
 
Cut out to small pink felt triangles and glue in the center of each of your ears.
 
Glue your ears onto the headband wrapping the extra felt around and securing underneath.
 
I present to you...
KITTY EARS!!! :)

 
Cheers,
Messy


Thursday, March 14, 2013

DIY ~ Ribbon Bow Flats

***this is a repost from March 2012***


In the spirit of using stuff I have, refashioning and wearing things I don't normally...I made these super adorable ballet flats!


Years ago I bought a pair of those Dr. Scholl's foldy flats.
I didn't love them much cause I thought they looked cheap and flimsy.
Then, while browsing Pinterest, I found this cute little DIY!
Light bulb moment!
I dug out my little flats and fixed em up.

Here's how I did it!

You will need:


- pair of ballet flats
- sewing pins
- ribbon
-stitch ripper
- sewing machine
- scissors
- lighter or matches

 
#1 ~ Take your stitch ripper and remove any embellishments off your shoes your are upcycling!

#2 ~ Cut 4 equal pieces of ribbon. Peak one end of each piece.

#3 ~ Using a lighter or matches, very carefully slightly burn the edges to prevent them from fraying.


#4 ~ Pin the ribbon in the spot you would like it on each side.

#5 ~ Using your sewing machine, sew ribbon into place.

 
#6 ~ Tie and enjoy! :)

I just love them.
What an upgrade!!!
Bet I wear them now... :)

Cheers,
Messy

Wednesday, March 13, 2013

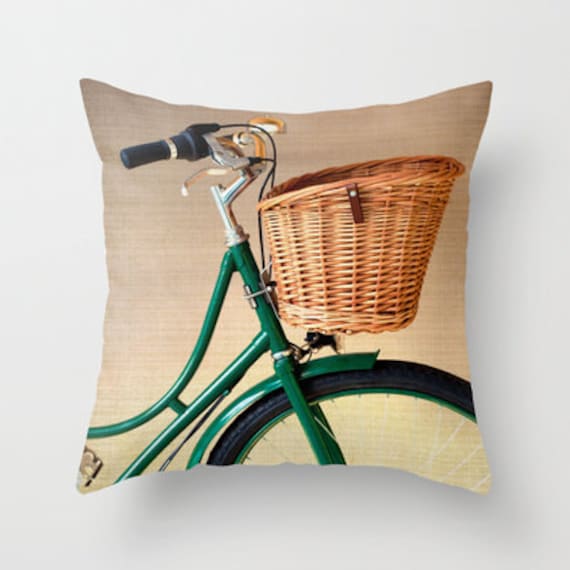
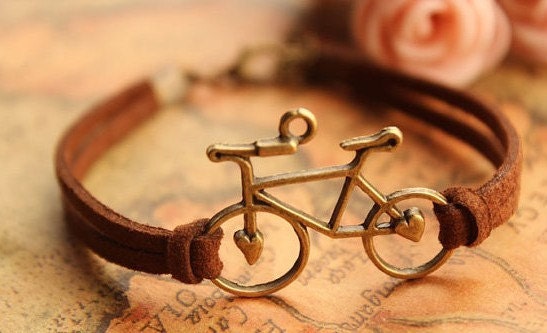
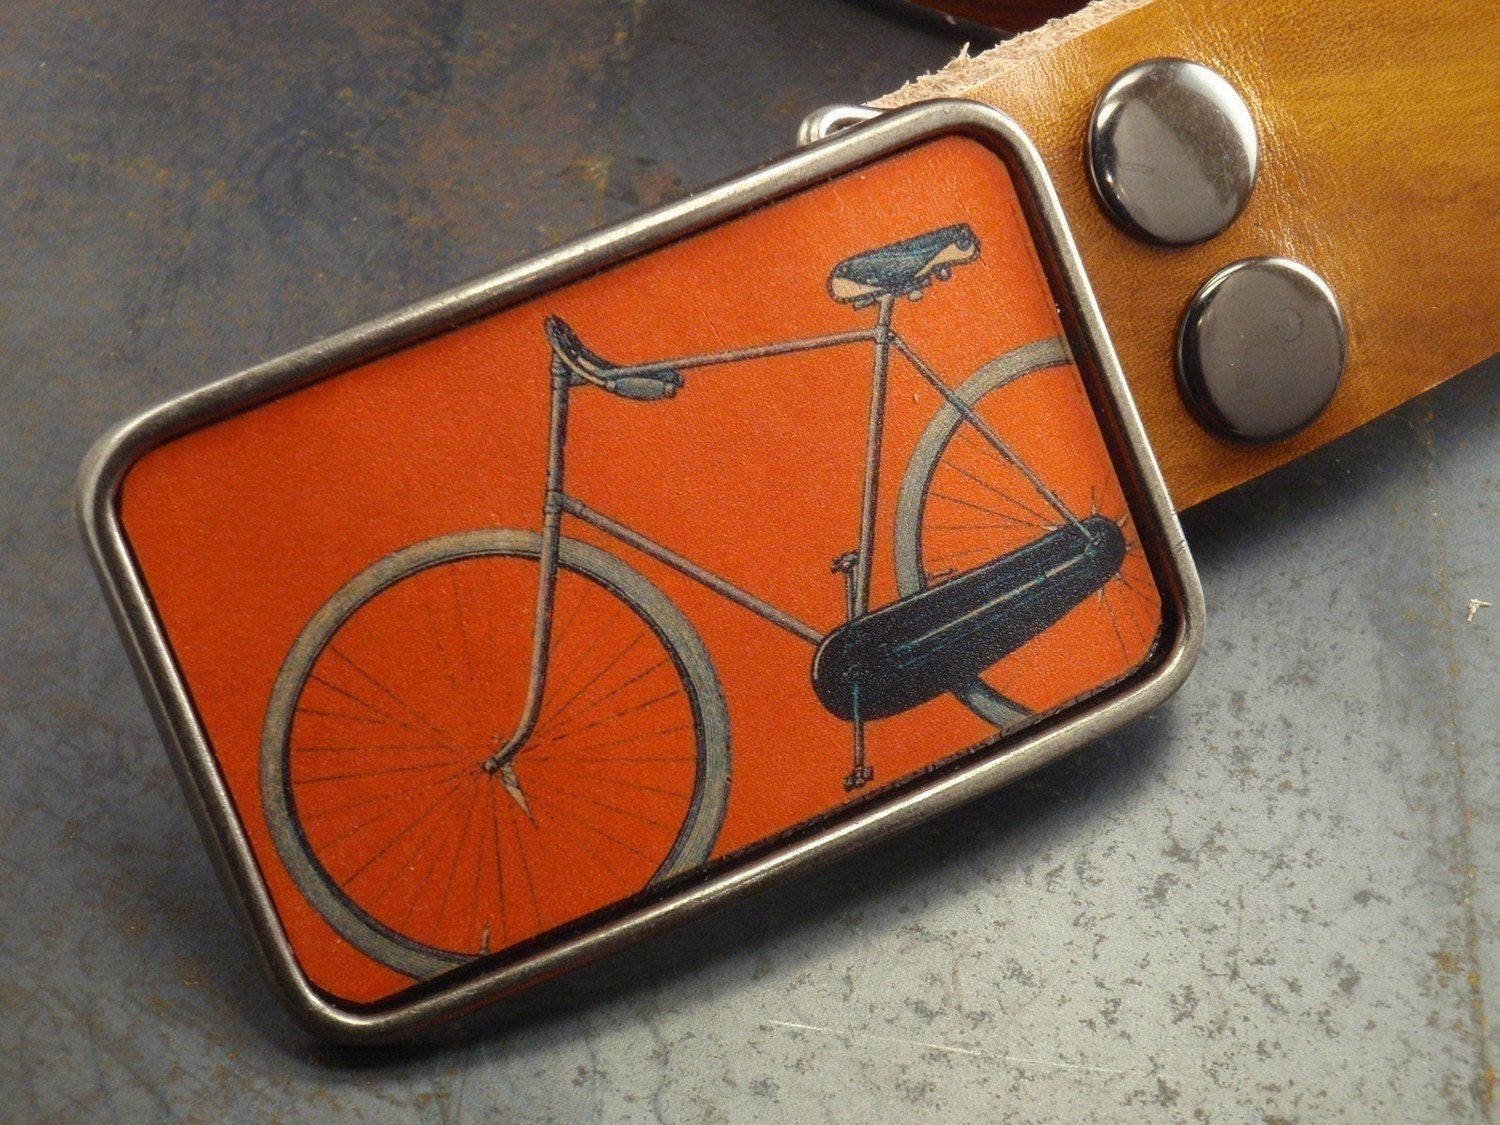
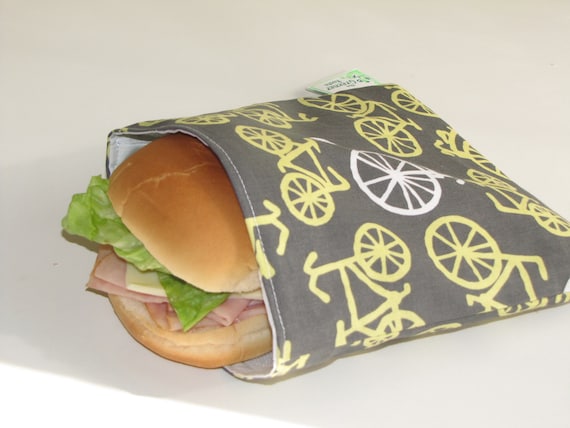
Etsy Love ~ Bikes Bikes Bikes

Pillow Cover Green Pillow Mint Pillow Bicycle Vintage Pillow Decoration 16 x 16 or 18 x 18
bike bracelet,retro bronze love bike alloy bracelet,brown wax rope chain bracelet
Belt buckle bike, orange retro, Park your car bike leather belt buckle
Reusable Sandwich Bag - Bikes
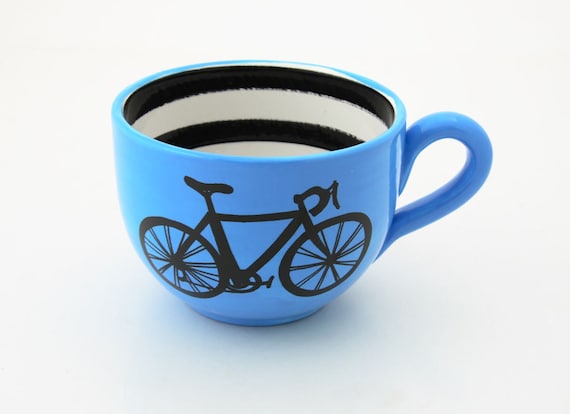
Bicycle Mug large for Soup or Coffee and Bike Lovers Blue
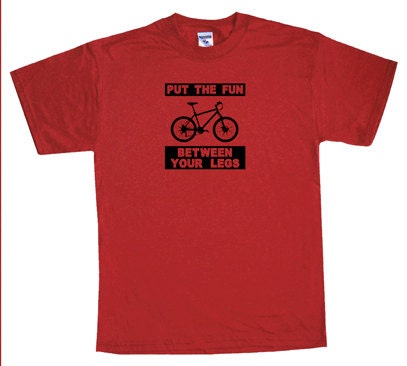
Bicycle T Shirt Put the Fun Between your Legs Bike Cycling Tee Shirt Funny T Shirt
 
Wish I had a bike.
Wish I could ride a bike.
LOL
 
Cheers,
Messy


Tuesday, March 12, 2013

DIY ~ High Heel Upcycle

***this is a repost from Feb 2012***


I have had these black heels for years and I rarely wear them.
There is nothing wrong with them, I just have an identical pair I have already worn in and are already comfy. 
I decided I wanted to do something to spruce them up so I will wear them.


In the spirit of using items I already have and not buying any new crafty things...
I used a silver paint pen I had in a miscellaneous bin.


All I did was shake then pen well, pop off the lid, and started coloring.
I chose to color the heels first.


Once I new there was enough paint left in the pen, I decided to do the tips of the toes too!


I love how they turned out! I pumped to try them next ladies night out!

Cheers,
Messy