Monday, February 11, 2013

Craft Day!!!

A few weeks ago my friend Ali invited me over for a craft day with some of her girlies!
We had so much fun making these adorable crayon heart hangydoos!
 
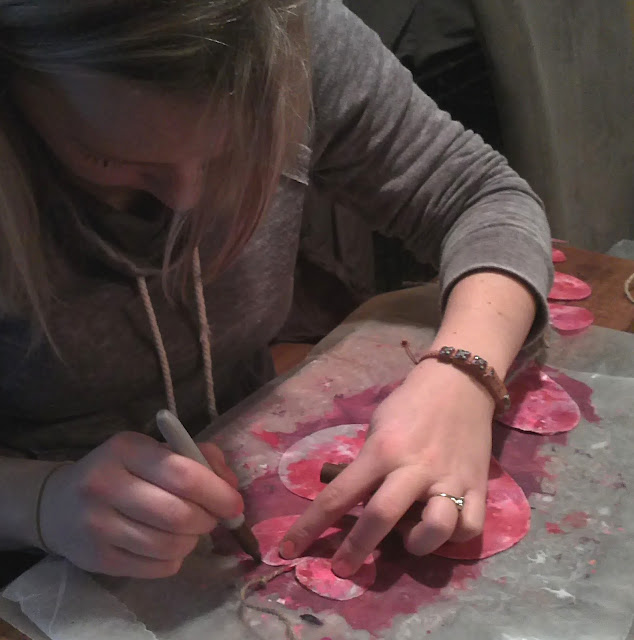
 Here's Ali craftin' away! :)))
Side-kick and all!
 
First start with a large piece of wax paper and two pieces of string that are extra long!
 
 
Using a knife, grater or pencil sharpener and make shavings of Crayola crayons.
I used pink, white, burgundy and red mixed.
 
Place another piece of wax paper over like a sandwich with the string and shavings.
 
Using the tip of your iron on medium heat, lightly circle around the wax paper.
You will very quickly notice the crayons melting a spreading.
 
 
Using a pen draw hearts around the string in a  vertical row.
 
 
Cut out the hearts making sure not to cut the string!!!
 

Tie your two sets together!
Voila!


I had a lot of fun with the girls!
This is what our table looked like by the end! Hahahahahaha!
 

Thanks Ali for inviting me!!!
Hope we can do it again sometime :)
 
Cheers,
Messy


Saturday, February 9, 2013

DIY ~ LOVELY T-Shirt Dress

I am soooooo pumped about the way this dress turned out!
I have wanted to make myself some sort of dress, romper, tunic type thing with it but was too scared I wouldn't be able to do it!
But I did!
And it fits!
And looks great!
I even wore it on a date night with Tally :)


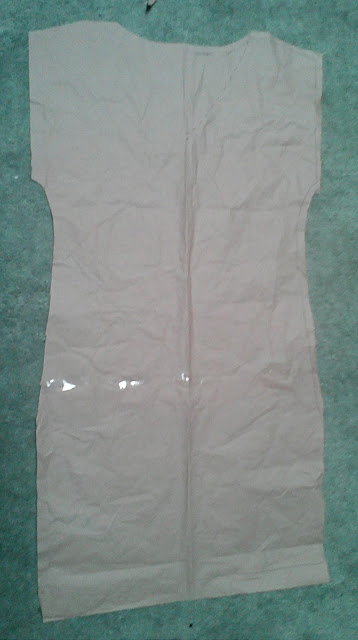
First take a top you love, fold it in half and trace it onto a folded newspaper or tissue.
I extended the length of my tshirt so mine would be more like a dress or tunic.

 
Cut it out leaving an extra inch all the way around for seam allowences.
Now you have a pattern for free :)


Pin your pattern onto your fabric, double thickness.
Cut out with pinking sheers.


Now you have two pieces.
Sew down each side  and the top of the shoulders leaving the arm holes and neck open.
Iron your seams.


Fold your front piece in half and cut a vneck so that the point in an inch ABOVE where the bottom of your armpits land.


Fold and iron your neck and sleeve seams and pin in place.
Sew all around.
Do your hem as well.


 Done and done! :)
 
 
Super cute eh?
 
Cheers,
Messy
 

Friday, February 8, 2013

DIY ~ Warm Winter Mini

I've been seeing thiese cute mini's everywhere and the fabric was super cheap on sale!


Start by measuring from your waist to your thigh where you want the length to go to.
Add 1.5 inches to the top and 1 inch to the bottom.
So your adding a total of 3.5 inches to your length measurement.
Cut to your fabric so you have two pieces the dimensions you desire.

Sew the sides together.
Turn your  tube inside out and iron flat.
 

Then iron your bottom hem.
Roll and iron one half inch, then anouther half inch and pin as you go.
On the top, roll a half inch down then 1 inch down to make a pocket for your elastic waist.
Pin and sew leaving a gap so you can insert your elastic.
Iron all your seams flat once sewn.
To insert your elastic, use a large saftey pin and fish it through your waist band making sure not to lose your end.
 
Sew the two ends of your elastic together with a zig zag stitch.

It's just that easy!


Cheers,
Messy

Thursday, February 7, 2013

Advertise on 2Messy!


Hey Everyone!
I've thought about it a lot, and I have decided to start doing all my blog ads through Passionfruit Ads.
If you haven't checked them out you really should.
 
It is sooo easy to navigate their page, start buying ads for other cool blogs and set up a way for peeps to advertise on your blog!
 
I'm charging only $3.00 and if I get positive feedback from it, I will definitely expand on the things I do for my supporters.
Like: Giveaways, Guest Posts, Feature Post, Facebook shoutouts, Twitter shoutouts!
I could go on!
 
So, if you would like to advertise on 2Messy, please click here or go to the Advertise Page here :)
 
Thanks for all your continued support!
 
Cheers,
Messy

Wednesday, February 6, 2013

Need a V-Day Gift?

Don't know what to get your sweetheart for Valentine's Day?!?
Hop on over to 2Messy and check out all my great gifts for him and her!
 
 
Happy shopping!
 
Cheers,
Messy

Tuesday, February 5, 2013

Addiction of the Moment

My latest addictions are getting to be a bit much!!!
 
Sewing!
I have made so much stuff lately, and my store is getting so full!
 
San Pellefrino in Orange Flavor....soooooo yummy!
 
Oh Hungry? Oh Henry!
 
Bloglovin'...best way to follow my favorite blogs!
 
What are you addicted to right now?
 
Cheers,
Messy


Monday, February 4, 2013

DIY ~ Lime Green Purse

I have had this piece of lime green canvas fabric forever.
In light of trying to use up all my fabric, I decided it was time for a project!
 
This is how I made this awesome purse!
 
First cut two of the same size strips that are 12 inches wide and 20 inches long.
 
 
Cut four circle shapes with flat bottoms.
They need to be about 6 inches wide, and 6 inches tall.
 

Also cut two straps 2.5 inches wide by approx. 8 inches long.
You should have all these pieces, two of each.

 
Sew everything right sides together and trim corners.
On your end circles, leave your hole (to reverse them) on the top so you can later insert your strap.
Right side all pieces and iron seams flat.
 

Hand sew your long rectangle piece all the way around one of the end circles leaving a flap that will be the opening at the top.
Repeat on the other side.


Sew your strap pieces in on the tops of your circles.
Add your decorative buttons and you're set!
 

If you would like to purchase this purse, it's on sale in my shop!
 
Cheers,
Messy

Sunday, February 3, 2013

My Favorite January Posts

Well,
the first month of 2013 is done and over.
A lot of things have changed around ehre.
My blog has totally become a DIY tutorial site, my followers have grown tremendously (thanks everybody!) and my shop is filled with all the DIY's I try, just in case you wanna go the fast route!
 
Here are some of my favorite posts from January!


Cheers,
Messy


Saturday, February 2, 2013

DIY ~ Two Color Clutch

I made this adorable little clutch just for fun the other day.
I love this green fabric but only had two small pieces left.
 
 
Cut two rectangles of the interior fabric in however long/big you want.
Cut two rectangles of the exterior fabric you want of the same size.
 
Cut another two small rectangles of the interior fabric and sew them together rights facing in all around the edges.
Leave a hole so you can reverse it.
Reverse and iron your seams.
Sew the two sides and bottom onto one piece of your interior fabric (right side) so you have a pocket.
 

Sew one piece of interior and one piece of exterior fabric together, leaving a hole so you can reverse it.
Repeat with the other two pieces.
Take two strips of magnet and put it through your hole in each piece.
Push it to the top of your pocket and sew a line underneath it to hold it in place.
Now you have a magnet closure all across the top.
 
 
Sew your two rectangles together on 3 sides leaving the top part with the magnets open.
 

Cheers,
Messy