Friday, June 13, 2014

DIY ~ Heart Art

I'm a poet and I didn't even know it.
Heart Art.
Heehee.
I think this would be a lovely present for newly weds, or as a house warming to someone special!
It was super fun to make too!
YOU WILL NEED:
canvas (whatever size you wish)
paint (whichever color you wish)
Glue gun
Whole lotta buttons
Clear coat
First paint you canvas your color of choice.
Clear coat it so it is shiny and protected.
Once dry, faintly draw a shape of your choice.
I did a heart as you can see.
Sort through your buttons and create a color scheme.
I went with all white to really contrast my black.
Start gluing your buttons!
It takes a bit of time, but the effect is so pretty at the end.
Spray clear coat again if you wish.
Cheers,
Messy
***this is a repost from December 2012***

Wednesday, June 11, 2014

Free Ad Space!


Hey Y'all!

Just wanted to let you know that I am offering FREE advertising space on my blog for the rest of June! 

If you would like to have your ad posted on my sidebar for the next few weeks for FREE then please email me at 
shelleysarina@hotmail.com.

Please send a button that is 185x100 and a link to your blog!

Here are my stats!

208 Google Followers
100 Bloglovin' Followers
169 Facebook Followers
360 Etsy Followers

Remember it's completely FREE until the end of June!!!

Cheers,
Messy

This Is How I Cook ~ Curry Quinoa Salad

Hi Everyone!

Today I am going to make this amazeballs salad I haven't made in ages. I got this recipe from my ex-mother in law and it is so healthy, clean and good for you!


WHAT YOU NEED:
- half a chopped onion
- 1 tbsp. oil
- 2 or 3 mushrooms
- misc. mixed veggies of your choice
- 1 can corn (or half a cup frozen corn)
- 1 cup Quinoa (soaked and clean)
- 1 tsp. coriander
- 1 tsp. medium curry
- salt & pepper

STEP 1: In a large saucepan over medium high heat place oil onions and any veggies you wish, and cook for 3 minutes.

STEP 2: place quinoa, corn and water in pan and bring to a boil.


STEP 3: Once boiling, add all spices, including salt and pepper. Mix well.

STEP 4: Cover and lower the temperature to a simmer. Let cook for 15 minutes. When you take off the lid after 15 minutes, you should see a little curl coming out of your Quinoa. It should be sorta sticky and a little moist, but no water. :)


I eat this dish warm, but the reason I call it a salad is because I love it way more when it's cold from the fridge. :) This is a great idea for packed lunches!

Hope you enjoy!

Cheers,
Messy

***this is a re-post from 2012***

Saturday, April 26, 2014

This is How I Cook ~ Crockpot Sweet Potato & Butternut Squash Soup

Well, it has been a while since I have cooked anything new or exciting.
But, I got a crockpot from my LOVELY bf for my birthday and I am determined to master it!

The first few meals did not turn out well, but I definitely made up for it with this doozy of a soup! 


WHAT YOU NEED:

one butternut squash
one sweet potato
one apple
one purple onion
four garlic cloves
2tbsp. butter
one 8oz cream cheese 
one chicken stock cup mixed in 3 1/2 cups water
Frank's red hot sauce
salt & pepper
chili flakes
onion powder
basil


Peel and cut up your squash, sweet potato, apple, garlic and onion. 
Put into your crock pot.

In a bowl mix your chicken stock, cream cheese, spices and butter together.


Pour over your veggies in the crockpot.
Cook for 6 hours on medium heat.


Using a hand blender, blend all your veggies  into a creamy mixture.
You can use a regular blender or a food processor or whatever you have. 
Add another glomp of cream cheese here if you would like.


Yummy yummy!
Sweet and spicy!

I served mine with a tasty grilled cheese sandwich and some green onion garnish!
Ty loved it ;)


Cheers,
Messy

Thursday, September 5, 2013

I'm BAAAAACCCCCCKKKKKK!!!!!!

Well, I made it!
I'm here in my new "home" - Parksville, British Columbia.
So far it's....quiet. LOL

But I have done some super exciting things so far and I can't wait to share my new series called
"Island Time!"
It will be all about how I am re-discovering Vancouver Island all over again.
I have't lived here since I was 17...so there are tonnes of things to do and see all over the place!

Here are a few pics too get you ready for whats to come!


Cheers,
Messy

Sunday, August 18, 2013

Well...

Well....
I guess its time to say something...

I'm moving!
 

I'm sorry I haven't been posting lately and I shouldn't have just dropped off the face of the earth like that.
But, life got turned upside down (again) and now I'm moving across the country.
Yup.
That's happening.
It's happening in 10 days.

Here's a little recap...
I moved to Austraia right after highschool.
I went back to my hometown for a short stint, then moved to Calgary, Alberta.
I lived there 8 years then moved even further from home to Ontario. 
Canada is big ya'll. 
It has been since 2000 that I have really lived close to my family.
My parents have jokingly said "come home!" and "you should just move back home" many times while I was going through all my rough patches of life. 
And trust me, there has been many times I have thought about it.

I don't want to leave my sweet little town and my AMAZING friends...
but sometimes you don't always get what you want, you get what you need. 
I need to do this for my family, myself, my nephews, my bestie :)

It's hard to admit defeat, difficult to start all over and it's even harder to leave somewhere you love.
But you never know...maybe I'll love my next home too.

Cheers,
Messy

PS: My online store will be closed until September 5th. I will not be blogging until then either ;)


Monday, July 22, 2013

DIY ~ Upcycled "Home" Decor


I had these cute letters that spelled the word "home".
I believe I got them at Dollarama.
I wanted to spruce them up a bit, so here is what I did.


WHAT YOU NEED:
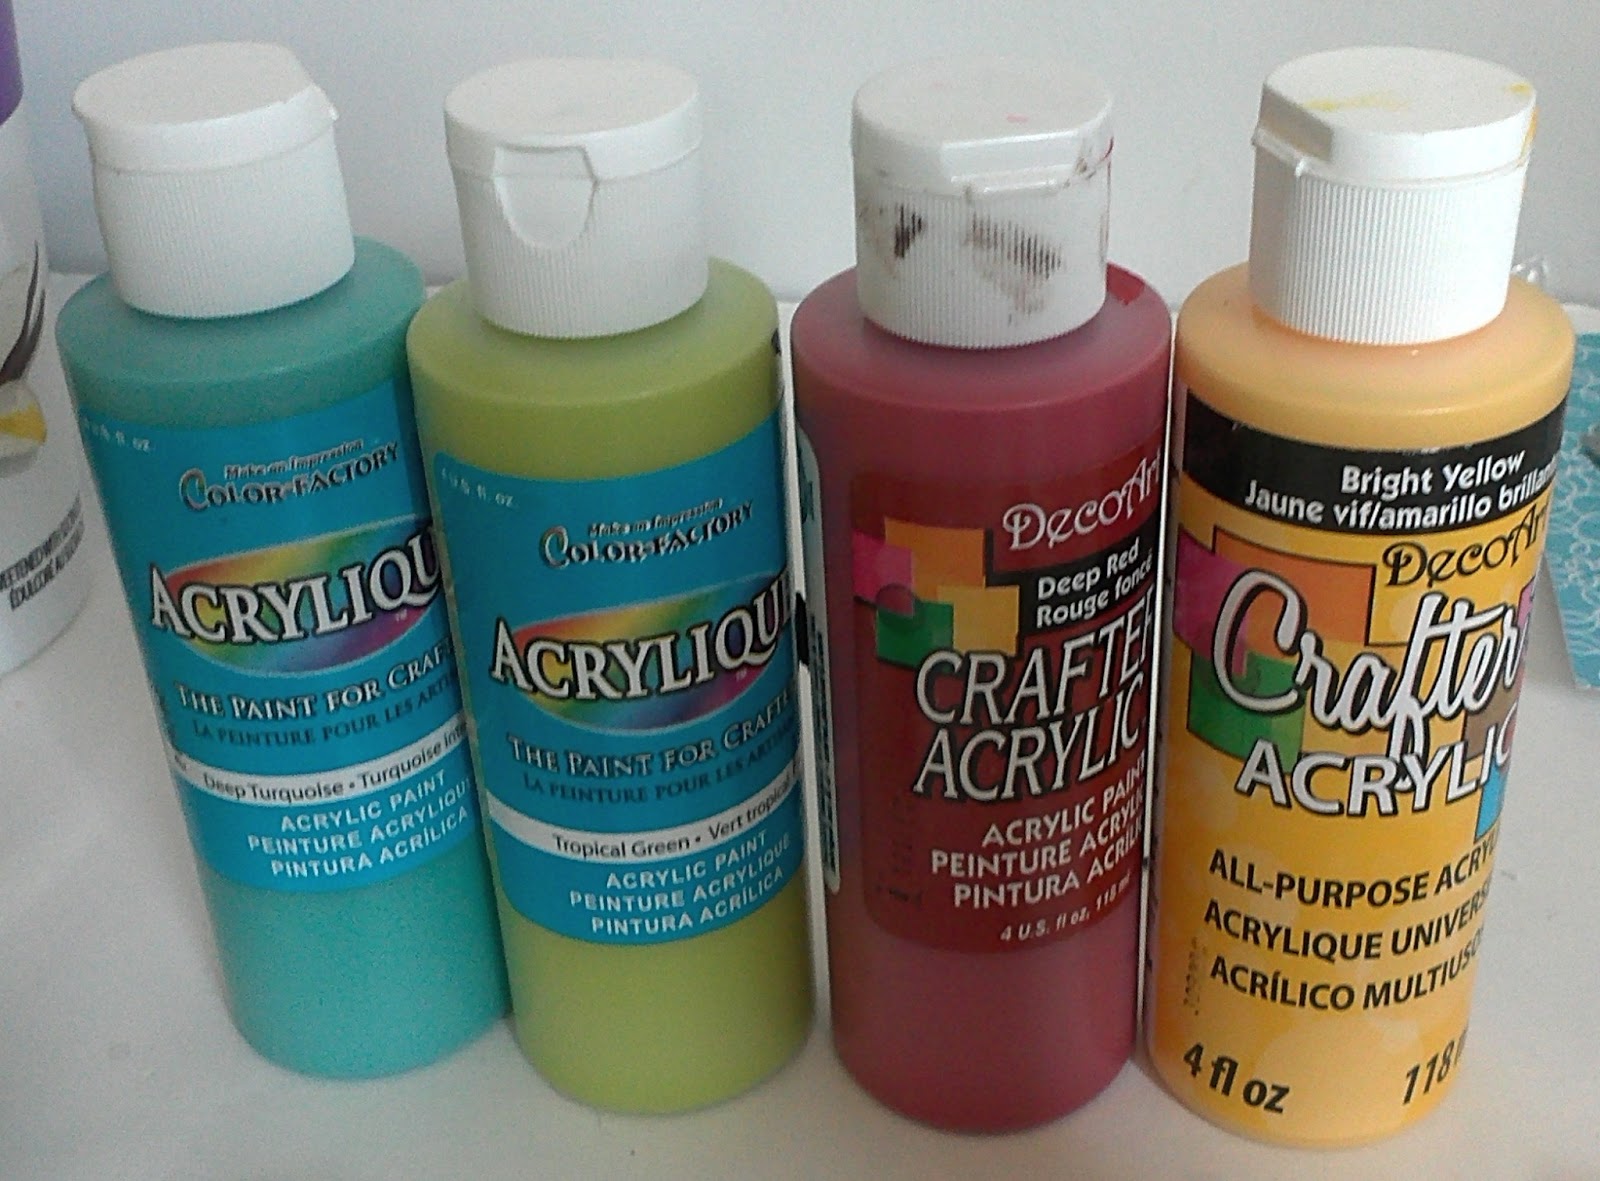
acrylic craft paint in 4 colors and black
mini paint brush
medium flat paint brush
mod podge
silver/clear sticky gems

First do a thin black line around the outside of each letter.


Once that is dry, pick a color and start painting swirls all throughout the middle part.


Once those are dry, add your gems wherever you have a space!


Lightly clear coat with a thin layer of mod podge.


Make sure you don't have too much excess mod podge around the gems or it wont dry clear!


Let dry and stand on a mantel, desk, book shelf, wherever!!!


Cheers,
Messy

Saturday, July 20, 2013

DIY ~ Beaded Knot Bracelet


Oh...this is so cute and easy!


WHAT YOU NEED:
rope twine
beads
hot glue gun
scissors


First take your rope twine and tie a loop knot at the end.
Add a bead and knot right under it.


Keep doing this as much as you would like or until your bracelet is the size you want.
I left some spaces without beads as well as used two different kinds.


When finished, tie a bead on to be your clasp through your hole.
Hot glue the end knots to make sure they don't come apart.


Works perfect.


So lovely!
Cheers,
Messy

Thursday, July 18, 2013

DIY ~ Pillowcase Tube Dress

Wow!
I was uber lucky to find these amazeballs pillowcases!


WHAT YOU NEED:
pillowcase
sewing machine
tape measure
pins
iron and board
elastic
flower (optional)
scissors

First take your pillowcase and iron it our flat.

Using scissors cut just a small amount of the sewn together end.


Now flip your pillowcase inside out.

Iron a quarter of an inch down from the top.
Then old and iron down another inch and a quarter.

Sew this pocket "tube" along the bottom of your folded part leaving a hole at the back to insert your elastic.


Measure the elastic for the top of your bust.
Feed it through the tube at the top and sew the ends together.

Hand sew on your flower detail if desires.


Tada!
New strapless dress.
It's just that easy!


Cheers,
Messy

Friday, July 12, 2013

DIY ~ Beyoutiful Painting


This turned out super cute!
Don'tcha think?
It's for sale now in my shop :)

WHAT YOU NEED:
white canvas
pencil
eraser
paint
small and medium paint brushes'
clear coat


First using your pencil lightly draw your "you" near the center.
Now add "be" at the top in script, as well as "tiful" at the bottom.


Using a small paintbrush trace out your "you" with black paint.
Inside the bubbly letters loosely draw some flowers and leaves around adding lots of color.
In between the flowers do gold dots to fill in the white space.
Kinda tedious...but great look!


Do your other letters in gold and fix any touch ups if needed.


Beautiful.
:)

Cheers,
Messy